Photography by David de Groot
Back To
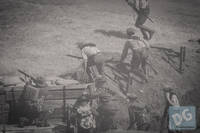
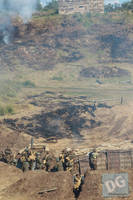
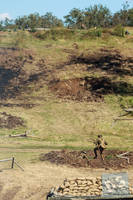
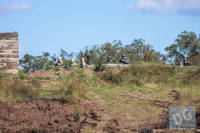
Air and Land Spectacular - Emu Gully 2013 Home Page
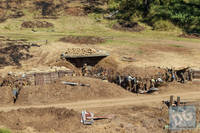
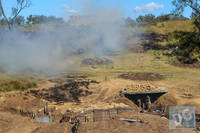
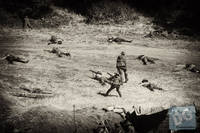
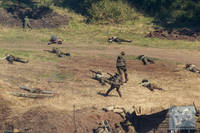
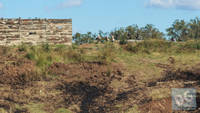
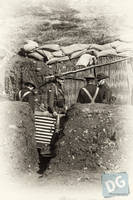
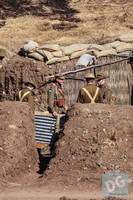
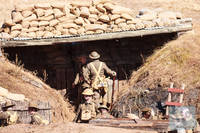
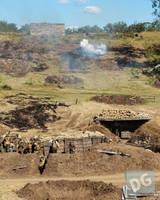
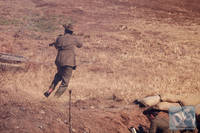
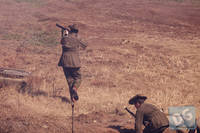
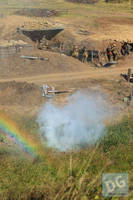
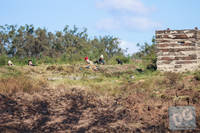
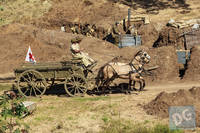
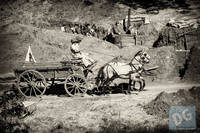
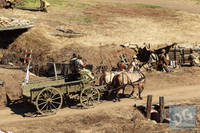
Photos of WWI Trenches
>>
Viewing page 1 of 5
View page 2 of 5
View page 3 of 5
View page 4 of 5
View page 5 of 5
>>